Posts Tagged ‘3D’
Unity: Making a simple audio visualization
Posted by Dimitri | Filed under Programming
As stated in the title, this Unity programming tutorial shows how to create a simple audio visualizer. This post focuses on explaining the necessary requirements in obtaining the audio data from the current music being played, and how to process this data to create a audio visualization. It won’t have detailed explanations on how to create a specific effect for an audio visualization. The code featured below and the example project were created and tested in Unity 3.5.2 .
For this post, the audio spectrum data will be displayed as a line using a LineRenderer component and will also feature some cubes that will fall from the top of the waveform, much like the little white bars above the spectrum found on the Windows Media Player “Bars” visualization. However, this visualization will be 3D and not 2D and will render a waveform and not bars.
To achieve that, a script and the following elements will be required: (more…)
Unity: How to create a speech balloon
Posted by Dimitri | Filed under Programming
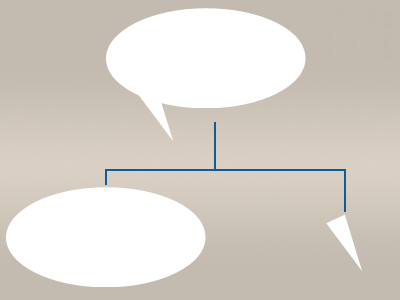
This Unity tutorial explains how to create a speech balloon, like the ones featured on comic books, in Unity3D. For any game, objects move around the screen, and in order to make the speech bubbles work, they have to follow the movement of these objects. However, the balloon can’t be translated in the 3D space, or else it will look like a regular billboard sign over the character’s head. So, it has to follow the character on the two dimensional screen space. The elongated edge of the balloon must also follow the character’s movement, stretching and shrinking accordingly.
To solve these two issues, a script is necessary, which will treat the round part and the triangular tip of the balloon separately.

The script will create a speech balloon by rendering these two parts separately. They must have the same color to create the illusion that it's a single element.
Unity3D: Using textures larger than 4096×4096
Posted by Dimitri | Filed under Featured, Programming
This post explains how to assign images larger than 4096×4096 px as textures in Unity. This image size is the maximum supported dimension for a texture in that game engine, however Unity allows us to write our own custom shaders that can use four images as textures, instead of just one.
Therefore, this post shows how to create a simple diffuse shader that takes four images to compose a single texture. That way, a 8192×8192 image can be used as a texture by breaking it into four 4096×4096 pieces, thus respecting the engine’s image size limit.
Unity: Scaling Pixel Art
Posted by Dimitri | Filed under Programming
This Unity post explains how to prepare images and set the Texture Importer settings to correctly render pixel art in Unity3D. So, this post covers how the different Texture Importer settings affects the pixel art textures in 3D models and in the game’s graphical user interface (GUI).
Unity: Normal Walker
Posted by Dimitri | Filed under Featured, Programming
This Unity programming tutorial explains how to create a controllable character that appears to ‘walk’ on the surface of another object. That’s achieved by using a script that matches the normal up orientation vector of the controllable game object with the surface normal of the other 3D object. But not only the script, this post also explains how to set up a scene to make it work.
A demo project with everything discussed here is available at the end of the post both in C# and JavaScript.
The first step is to create a Cube game object, that will act as your player. To do it, just select GameObject->Create Other->New Cube: (more…)


